Tesla silver metallic repair demands specialized care, a 5-step process including cleaning, sanding, undercoating, painting (with drying time), and polishing, for damaged parts like hoods, bumpers, or quarter panels, matching original aesthetic integrity with durable results. Prepare workspace, use high-quality tools, ensure proper ventilation, and follow meticulous guide for optimal outcomes.
“Discover the art of Tesla silver metallic repair, a process that breathes new life into your vehicle’s exterior. This comprehensive guide delves into the intricacies of restoring hoods, bumpers, and quarter panels to their pristine, glossy state.
We’ll explore the unique challenges of Tesla’s silver metallic paint, offering a step-by-step approach for achieving professional results. From preparing your workspace to mastering the repair technique, this article equips you with the knowledge to tackle common issues effectively.”
- Understanding Tesla Silver Metallic Paint
- Preparing Your Workspace for Repairs
- Step-by-Step Guide to Metallic Repair Process
Understanding Tesla Silver Metallic Paint

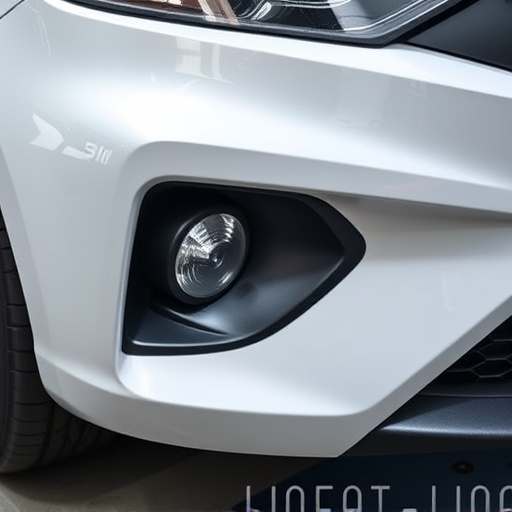
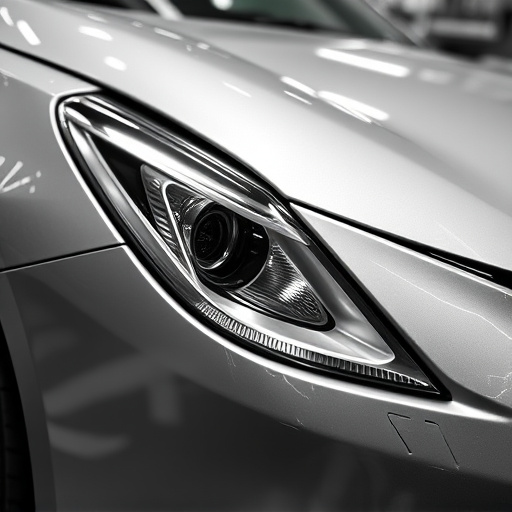
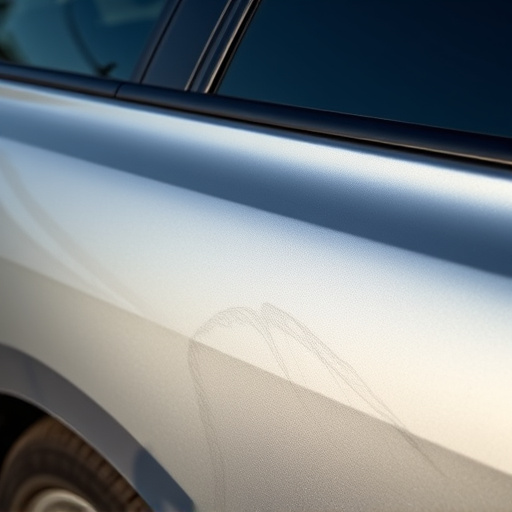
Tesla’s Silver Metallic paint is a signature feature of many of their vehicles, renowned for its glossy, deep finish that reflects light beautifully. However, this distinctive paintwork is also delicate and requires specialized care. When it comes to repairs, especially on parts like the hood, bumper, or quarter panels, understanding the unique properties of Tesla’s Silver Metallic Paint is crucial. This paint isn’t your typical two-coat system; it involves a complex application process involving base coat, clear coat, and often, a metallic flake additive that gives it its distinctive shimmer.
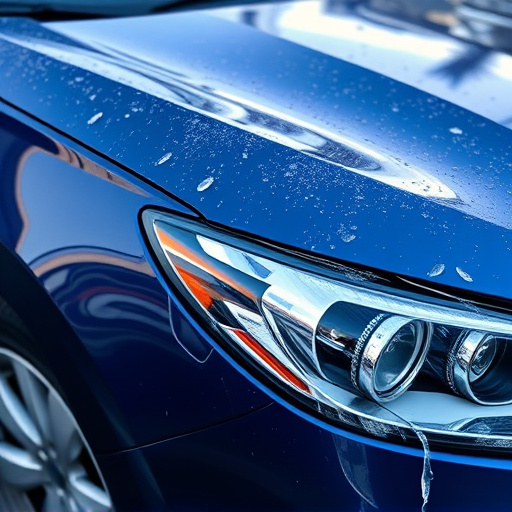
For effective Tesla silver metallic repair on vehicle bodywork, whether it’s through car repair services or DIY attempts, it’s essential to replicate this multi-layer process accurately. This means sourcing the correct paint matches, ensuring precise application techniques, and allowing adequate curing time between coats. The goal is not just to fix the damaged areas but also to maintain the original aesthetic integrity of the vehicle’s overall finish, showcasing that signature Tesla silver metallic sparkle.
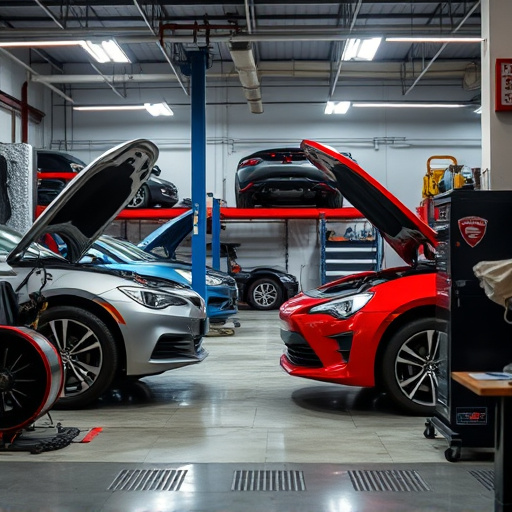
Preparing Your Workspace for Repairs
Preparing your workspace for Tesla silver metallic repair is a crucial step in ensuring the job is done right. Start by clearing a dedicated area where you’ll be working, removing any distractions or clutter. This dedicated space should have adequate lighting to accurately assess and match the paint color, especially as you’ll be dealing with precise silver metallic tones. Invest in high-quality tools specifically designed for car bodywork repair, including scratch repair kits and collision repair equipment. Proper ventilation is also essential; consider setting up a system that filters out harmful particles, as working with paint and resins can create a messy environment.
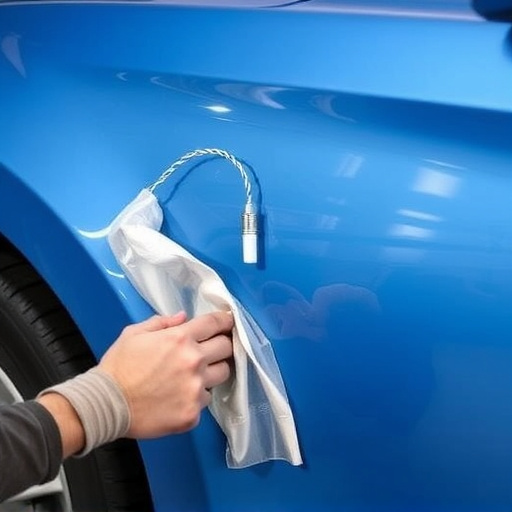
With the right workspace set up, you’re ready to begin the repair process. This involves thoroughly cleaning and preparing the damaged areas—the hood, bumper, or quarter panels—to ensure a smooth finish. Sanding the metal gently helps create a rough surface for better paint adhesion, while degreasers remove any built-up grime or oil. These preliminary steps are vital in achieving a professional Tesla silver metallic repair, ensuring the final result matches the car’s original sleek and vibrant appearance.
Step-by-Step Guide to Metallic Repair Process
The Tesla Silver Metallic Repair process is an art that combines precision and expertise. It’s ideal for restoring damaged hoods, bumpers, and quarter panels to their original gleam. Here’s a step-by-step guide:
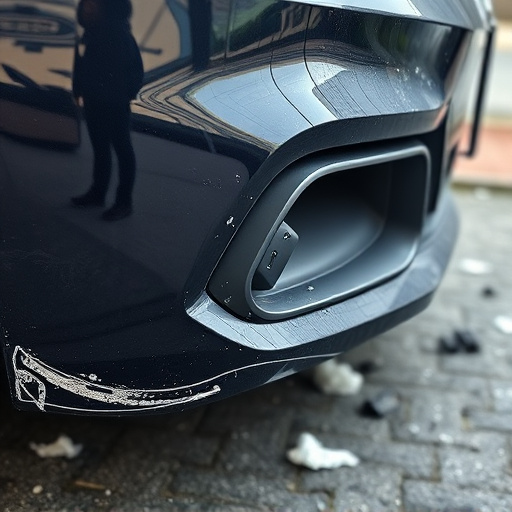
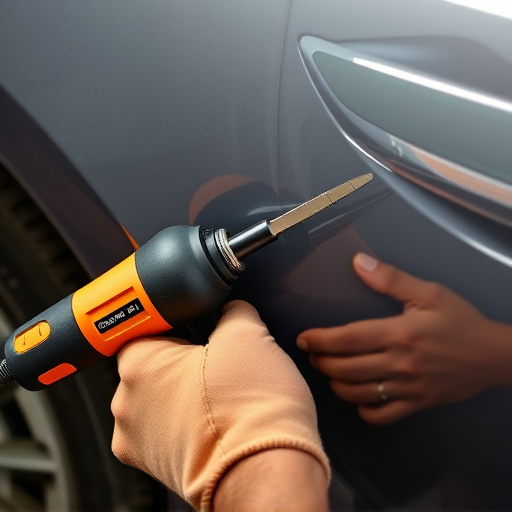
1. Preparation: Begin by thoroughly cleaning the affected area to remove any dirt, debris, or existing repair residue. This ensures a clean canvas for the new paint. Next, inspect the damage closely to understand its extent—is it limited to small dents or does it involve larger cracks? This guides your choice of repair techniques.
2. Fixing and Filling: For minor dings and dents, use specialized tools to push out the damaged metal, returning it to its original form. If there are more significant defects like cracks or holes, apply an appropriate filler compound, allowing it to dry completely before sanding. Fine-sand the area until smooth, ensuring no imperfections remain.
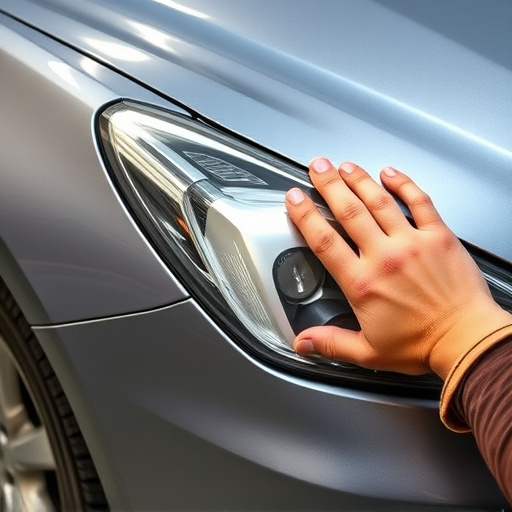
3. Surface Treatment: After sanding, wipe down the surface with a degreaser to eliminate any residual oils. Prime the metal with a high-quality undercoat to prevent rust and provide a smooth base for painting. This step is crucial for long-lasting results in auto body repair.
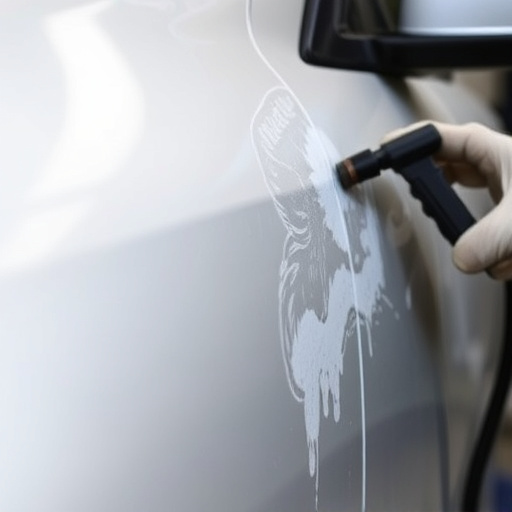
4. Painting: It’s time for the Tesla Silver Metallic finish! Apply an even coat of paint, allowing it to dry as per the manufacturer’s instructions. Multiple thin coats are better than one thick layer to achieve a professional, glossy finish. Between coats, ensure proper drying to avoid issues during car repair services.
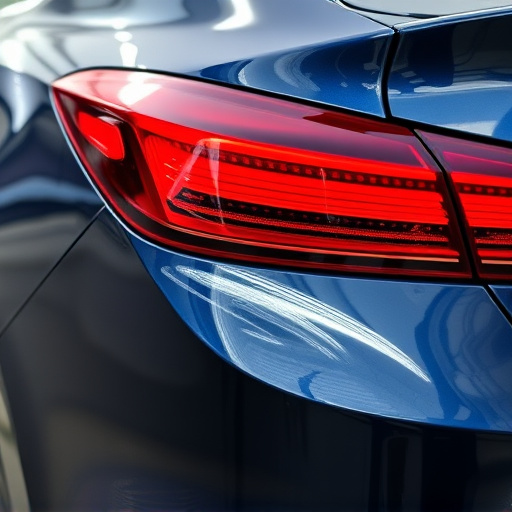
5. Final Touches: Once the final coat is dry, inspect your work. With careful polishing, you can enhance the metallic sheen and reveal the beauty of the restored surface. This meticulous process ensures not just a visual transformation but also a durable solution for your vehicle’s auto body repair near me needs.
Tesla silver metallic repair is a specialized process that requires attention to detail and the right tools. By understanding the unique properties of Tesla’s silver metallic paint, preparing your workspace effectively, and following a systematic approach for repairs on hoods, bumpers, and quarter panels, you can achieve professional-looking results. This step-by-step guide equips owners with the knowledge to tackle minor dents and scratches, ensuring their vehicles maintain that pristine, factory-like finish.